

Is your travel blog secure? When people visit your website, does it connect via HTTPS? In today's post, I'm going to teach you why it's so important to secure your website with a trusted SSL Certificate and how to go about doing so for free. If these instructions prove too difficult to follow, I also provide an option to do it for you at the bottom of this post.
Article Contents
- Is my travel blog secure?
- Why is HTTPS important?
- What does an SSL Certificate do?
- How to secure your blog with HTTPS (for free)
- What to do after installing an SSL Certificate
- Install my SSL Certificate for me
- FAQs
How do I know if my travel blog is secure?
The easiest way to see if your travel blog is secure is to check whether or not your website's URL begins with HTTPS (secure) or HTTP (unsecure). Depending on which browser you're using, there will also be a lock next to your URL if it's secured with HTTPS.
Example of a secured website:

Example of an unsecured website:

Keep in mind that whether WWW is displayed in front of your domain has nothing to do with whether your website is secure or not. Some blogs choose to use the WWW and other websites (like mine) do not.
If you've determined that your website is currently secured… great! Skip ahead in this post to the section on what to do after installing an SSL Certificate and ensure that you've followed those steps too.
If your website is not secured, keep reading to learn why it's important and then how to do it.
Why is it important for my blog to be secured with HTTPS?
#1) The first and most important reason to have a secure website is for the security of your visitors.
Chances are that your blog has a comment section, an e-mail sign up form, the ability login, an e-commerce shop, or a combination of those things. An SSL Certificate secures the connection between your visitors and your website so that the information they submit to your site (like e-mail address, password, credit card, etc) doesn't fall into the wrong hands. You can learn more about how SSL Certificates work in the next section.
#2) The second reason to have a secure website is to build trust with your website visitors.
I'm very turned off by sites that don't offer a secure connection and I'm less likely to do business with them. For example, I came across a website host recently that doesn't even secure their own sales page! I could never entrust them with my website if they don't even secure their own. I'd also never purchase anything from a site without HTTPS.
Now you may be thinking, “But I'm just a blog. I don't sell anything.” And you're technically right, so perhaps the bar is set a little lower for you than it is with e-commerce websites. But, I know you want me to sign up for your newsletter or leave a comment on your new posts, and you'll need a secure site for me to do that. Plus, it's more professional to offer your readers a secure experience, and it's free (as you're about to learn), so there's nothing stopping you.
#3) The third reason to have a secure site is that Google now uses HTTPS as a ranking factor with SEO.
It didn't happen overnight either. Google gave web developers plenty of notice to get their sites secured, and then even extended the deadline by half a year once it hit. However it's been more than a year since the original deadline, so it's safe to say that HTTPS is now a contributing factor to your search engine rank. The reason is that Google wants to provide visitors with the best and safest user experience possible, so they prioritize sites with HTTPS. If your search engine placement is important to you, then you'll need a secure site. You can learn more what other factors affect your search engine placement in my Advanced Guide to SEO For Travel Bloggers.
#4) Lastly the fourth reason I'll cover today for needing a secure site is that scary message that now appears within browsers next to your domain name if you don't offer HTTPS.
On Chrome the message reads: (!) Not secure. And I know you don't want that appearing at the top of each page on your website.
What is an SSL Certificate actually doing?
Without getting overly technical, SSL Certificates are small data files that digitally bind two cryptographic keys – a private key and a public key. These keys are long strings of randomly generated numbers used to encrypt messages between two or more computers. Everyone has access to your public key, which they need in order to access your website. Individual users are issued private keys, which are only accessible to them. The SSL Certificate facilitates the transfer of information using those two keys. If a hacker were to intercept the information along the way, they would not be able to disseminate the message because they don't have the private key.
This is especially important when you've got contact forms, shopping carts, and comment sections on your website because visitors are using those things to transmit personally identifiable information. An SSL Certificate helps ensure the safety of that information as it's transferred between their browser and your server and vice-versa.
How do I secure my travel blog with HTTPS?
In order to offer a secure HTTPS connection on your travel blog, you need to install an SSL Certificate. This can either be done through your host or through whoever manages your website's DNS.
Method #1: Free SSL Certificates by Let's Encrypt
Good website hosts now-a-days offer you the ability to install free SSL Certificates from providers like Let's Encrypt – which is what I use to secure the website you're on right now. Let's Encrypt is a non-profit organization collaboratively funded by huge Internet companies like Mozilla, Google, Facebook, Shopify, etc. Their mission is to provide a secure web for every user, so they offer free auto-renewing SSL Certificates to website owners.
Let's Encrypt works with every website host that I personally use which is WPEngine to host this travel website, Siteground to host my Internet Crash Courses platform, and Dreamhost to host my World Map Coloring Poster sales website. I use a combination of trusted hosts so that in the event of a server outage, all of my websites don't go down at once. You can read more about my hosting recommendations in my article Best WordPress Website Hosts For Travel Bloggers.
SSL Certificates by Let's Encrypt need to be renewed every 90 days. The hosts that I mention above auto-renew my SSL Certificates for me every 90 days so that there is no interruption in service.
I can't list every website host that partners with Let's Encrypt because there are thousands of them. There are also other free SSL Certificates out there like SSL For Free that would suit your needs, but I don't use them and can't personally vouch for them. Lastly, some hosts offer a free SSL Certificate of their own. There are more than enough options out there for free certificates.
That's why I recommend that the first step you take is to contact your host and see what free options they offer. Most good hosts now-a-days will offer you at least one option for a free auto-renewing SSL Certificate, whether with Let's Encrypt or otherwise, because a good host understands how important it is to secure your website and doesn't want to create artificial financial barriers for you to do so.
Enter GoDaddy – one of my most disliked companies on the Internet. Whereas most hosts offer an easy one-click installation of Let's Encrypt, GoDaddy requires a roundabout manual installation method. On top of that, GoDaddy doesn't offer auto-renewal of Let's Encrypt certificates, so you'll need to repeat this process like clockwork every 90 days to keep your site secure.
Without a doubt, they do this to steer you towards their paid SSL Certificates. It's a disgusting practice and one of many unscrupulous business practices that GoDaddy is guilty of. If anyone reading this is hosting their travel blog with GoDaddy, contact me today if you're willing to switch hosts. I will personally transfer your website to one of my recommended hosts free of charge, secure it for you with a free SSL Certificate from Let's Encrypt, and then negotiate a refund with GoDaddy on your behalf for your unused hosting (if you paid in advance for multiple years). Full disclosure, I'll earn an affiliate commission if you use one of my recommended hosts, but it's not enough to cover the time it takes me personally oversee the website transfer process, although it does help offset it.
Method #2: Free SSL Certificate from Cloudflare
The second option I recommend for obtaining a free SSL Certificate is through Cloudflare. I use Cloudflare as my content delivery network (CDN), which helps deliver my website faster to my visitors in other parts of the world who are farther away from where my server is physically located. Their service also helps protect my site against DDOS attacks.
Cloudflare offers a lot of great services to website owners in the areas of security, delivery, and speed optimization, so you should definitely check them out. However, today I only want to discuss their free SSL Certificates because it's a quick and painless way to add HTTPS to your site.
Technically, Cloudflare isn't offering a secure connection on your website. Instead, Cloudflare hosts a cached version of your site on their servers and secures the connection with your visitors through their own SSL. All you have to do is setup a free account with Cloudflare, install their WordPress plugin, and they take care of the rest.
The downfall of this setup is that your hosted website itself isn't secured, only the Cloudflare cached version of your website is, which is what visitors are accessing. So this method leaves the non-cached version on your server unsecured. Cloudflare does offer the option of upgrading to a full SSL implementation, but it's not part of their free service.
My preferred setup is using a free auto-renewing SSL Certificate by Let's Encrypt through my recommended hosts and only utilizing Cloudflare for global content delivery. That way if something were to compromise Cloudflare's services, I could override them and send visitors directly to my website without losing my HTTPS. As you're starting to learn, I don't like to put all my eggs in any company's basket.
Method #3: Buy an SSL Certificate
The third option of course is to purchase an SSL Certificate through your hosting provider. Most hosts offer an easy option to purchase an auto-renewing certificate that they either offer internally or through one of their partners. I obviously can't vouch for every SSL Certificate provider on the market, so do your due diligence and read reviews, but most paid options will suit your needs. I only mentioned this option last out of respect to your wallet. The free options above will suit your needs as a blogger.
What to do AFTER you install your SSL Certificate.
After you install your SSL Certificate, you're not finished yet. There are a few more steps to take which I'll outline below.
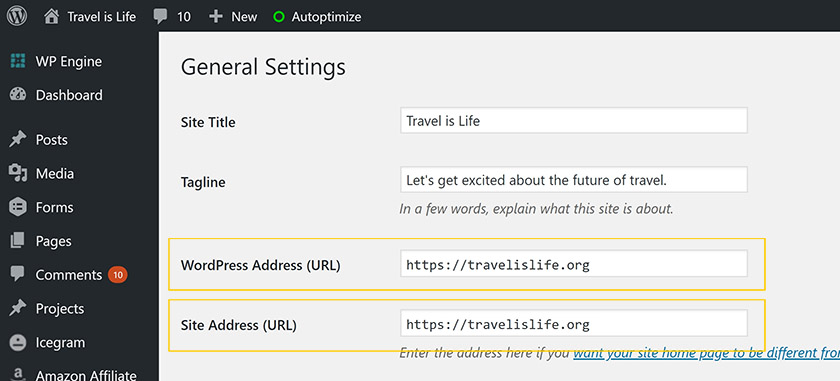
Step #2: Change your WordPress Address (URL) and Site Address (URL) to the HTTPS version.
You can find this option under your WordPress Admin –> General Settings. Simply change the HTTP in your website's URL to HTTPS in both fields. However make sure the HTTPS version of your website is functioning properly before you make this switch or you won't be able to access your site after you hit Save until it does. Sometimes populating the SSL Certificate takes a few minutes or a few hours, so test your site by manually entering it into your address bar with the HTTPS before performing this step. You can also change your WordPress Address and Site Address URLs via PHPMyAdmin if you're familiar with editing a MySQL database. (But chances are, you're not familiar with editing MySQL databases if you're reading this post.)
Step #2: Setup HTTP to HTTPS redirects.
Just because your host helps you install your SSL Certificate and setup a secure version of your website, doesn't mean they will automatically send all your website traffic to that secure version. What I've seen happen a lot is bloggers accidentally end up running two versions of their website – an unsecure and a secure version. This is bad because it leaves a portion of your visitors unsecured, and you have two different versions of the same website online which is bad for SEO. Google considers your HTTP and your HTTPS to be two different websites, so you'll need to forward your old site to the new secure version. Doing this does not negatively affect your SEO if done right, which I'm explaining in this post.
To finish the job, you need to redirect all your unsecure HTTP traffic to the corresponding pages on on your new secured HTTPS site. This is typically done by either: 1) Editing your htaccess file. 2) Apache redirects. 3) Using a plugin like WordPress Forced HTTPS or Really Simple SSL. 4) Setting your preferred version within your hosting admin. 5) Using the HTTP to HTTPS Page Rules within Cloudflare (if you use them for your CDN).
Every host handles the job differently, so you'll want to speak to your hosting provider first to find out their recommended method of forcing HTTPS.
At the end of the transition, all your website traffic should automatically redirect to the HTTPS version of each page, regardless of what URL the visitor clicks. Meaning, any external links to your non-secure HTTP site will still work and redirect people to their HTTPS version of that page.
Keep in mind too that technically WWW is a subdomain and sometimes requires its own set of redirects. So before you're finished with this step, ensure that the HTTP and WWW versions of your website all redirect to the secure HTTPS version.
Step #3: Reference your new secure image file paths.
Now that your website is loading the secure HTTPS version of each page, you need to ensure that it's loading the HTTPS version of your images. You might not use WordPress in text mode very often (or ever), but technically every image on your website has a file path which probably looks something like this:
http://yourblog.com/wp-content/uploads/2019/03/machu-picchu-selfie.jpg
You can see in the example above that the file path references an image called machu-picchu-selfie.jpg of which the URL starts with http. You need to change that image file path to https for every image on your site. You DO NOT need to do this one by one.
The easiest way is through the use of a plugin like Better Search Replace. Follow the instructions on that plugin to essentially search your database for all unsecure references of http://yourblog.com/ and replace it with the new secure https://yourblog.com/. This should also replace any internal links to pages and posts with the HTTPS version of the link.
Alternatively you can do this through PHPMyAdmin, but again, I'm assuming that if you're reading this, you're not familiar with editing MySQL databases, so a plugin is going to be the easiest route. You can also ask your host to do this for you and some will oblige.
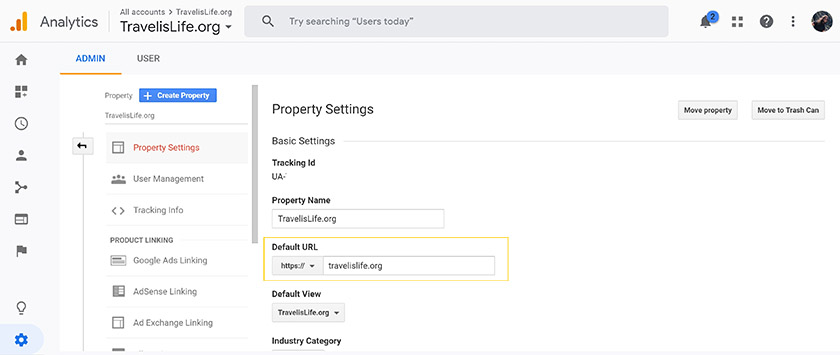
Step #4: Update your Google Analytics Profile.
This one's pretty easy. Login to your Google Analytics, click on the profile for your travel blog (which might be displayed by default if you only have one website), then go to the Admin section and change your Default URL to HTTPS. Then click Save.
Step #5: Create a new profile in Google Search Console.
Like I mentioned earlier, technically Google considers your HTTP and HTTPS website as two different sites. So after you've followed the previous steps, the last thing you'll need to do is enter your Google Search Console and add a new property using the HTTPS version of your URL. After you add your HTTPS site, you'll need to Verify ownership of that site again, and lastly submit your sitemap.xml.

Too confusing? I'll do it for you.
Today's post covered some technical processes, and despite my best effort at explaining them, the steps outlined above may still be beyond your technical abilities. I run a web development and marketing agency so sometimes I take this stuff for granted, but I understand that it's confusing.
My first recommendation is to contact your host and see if they'll help you secure your site for free. Technically, the steps outlined above go above and beyond the general support offered by most hosting providers – so don't be too hard on them if they turn you down – but it's worth a shot asking.
If you run into any issues, you can seek out help on forums, in Facebook groups, or in the comments section at the bottom of this post – but understand that availability of help from strangers on the Internet is often limited in situations like this because the steps needed are very specific to each person depending on their specific host, SSL Certificate, content delivery setup, and plugins. That's why I offer the service below.
For $199 I will manage and execute the entire process of securing your website start to finish, including recommending which methods are best for you of the options outlined above.
Securing your website is a one time process that will not require additional maintenance in the future because I will only set you up with an auto-renewing SSL Certificate.
Alternatively, if you're in the market for a new host and would like to switch to one of my recommended hosts (WPEngine, Siteground, or Dreamhost), I earn a commission for the referral ranging from $50-$200. Therefore, I will take that commission off the price of this service and oversee the process of transferring and securing your website at the same time.
Please, however, DO NOT switch website hosts unless it's essential. Meaning, don't do it just for the discount on securing your website. There a lot of other great website hosts other than the three I mentioned, and you may be hosted with one right now. In that case, it's best to stick with your existing host and only hire me to secure your site (if they won't help you do it for free). If you are unsure of which option is best, I can advise.
To inquire about this service, please e-mail [email protected] with the subject “Secure My Blog” and I'll provide additional instructions from there. For references about my services, you can check out my agency's website at IdeasFocused.com.
Questions about securing your travel blog?
Drop your questions in the comments section below your post and I'll do my best to help you out. While I can't provide support for every combination of hosting provider and SSL Certificate out there, I'll try to answer general questions about the process. My recommendation, however, is to contact your hosting provider first before asking me because they'll know more about their specific options and processes.
Read to learn more about travel blogging?
For more helpful travel blogging resources like this one, check out the rest of my Travel Blogger Success Kit and consider joining the Travel is Life Creators community of professional travel bloggers, vloggers, & photographers.
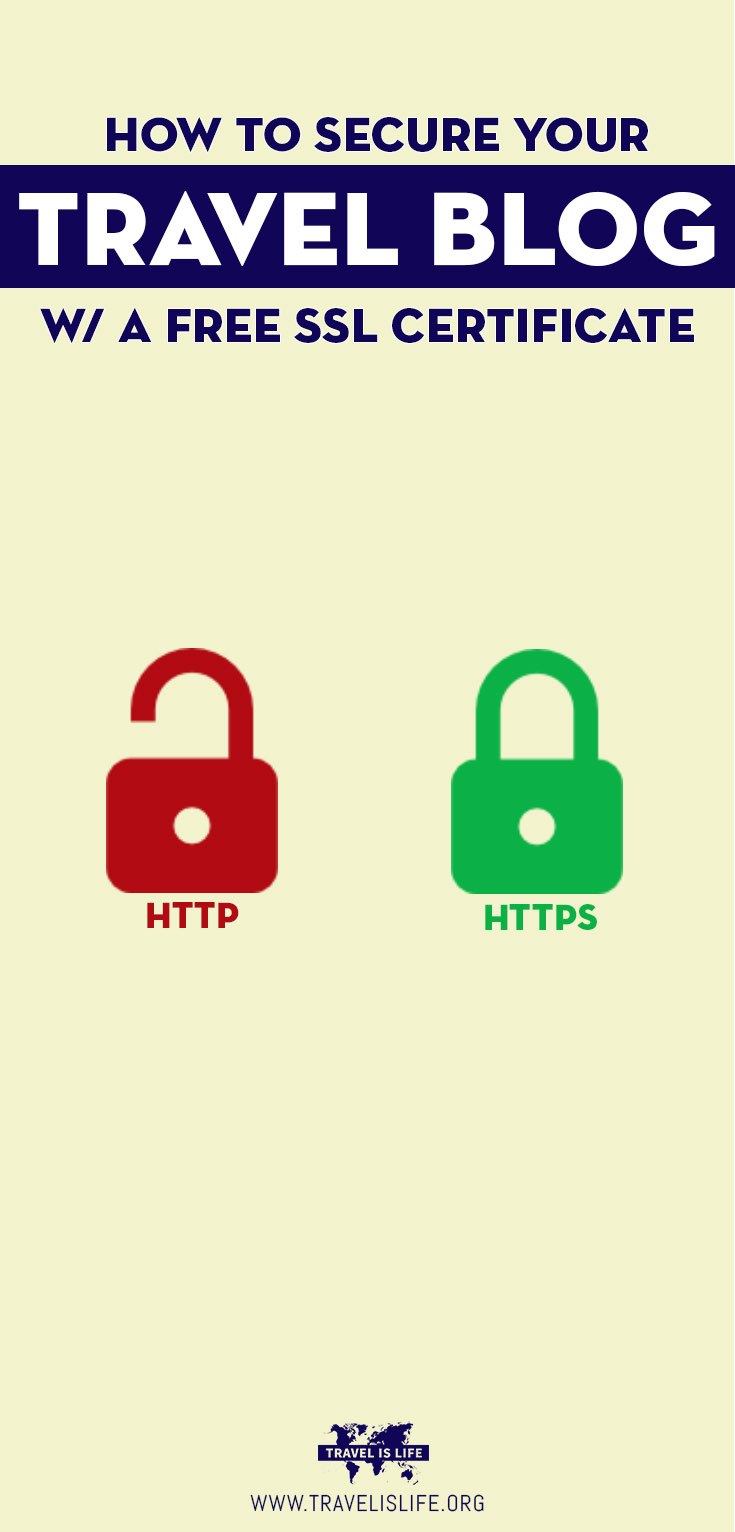
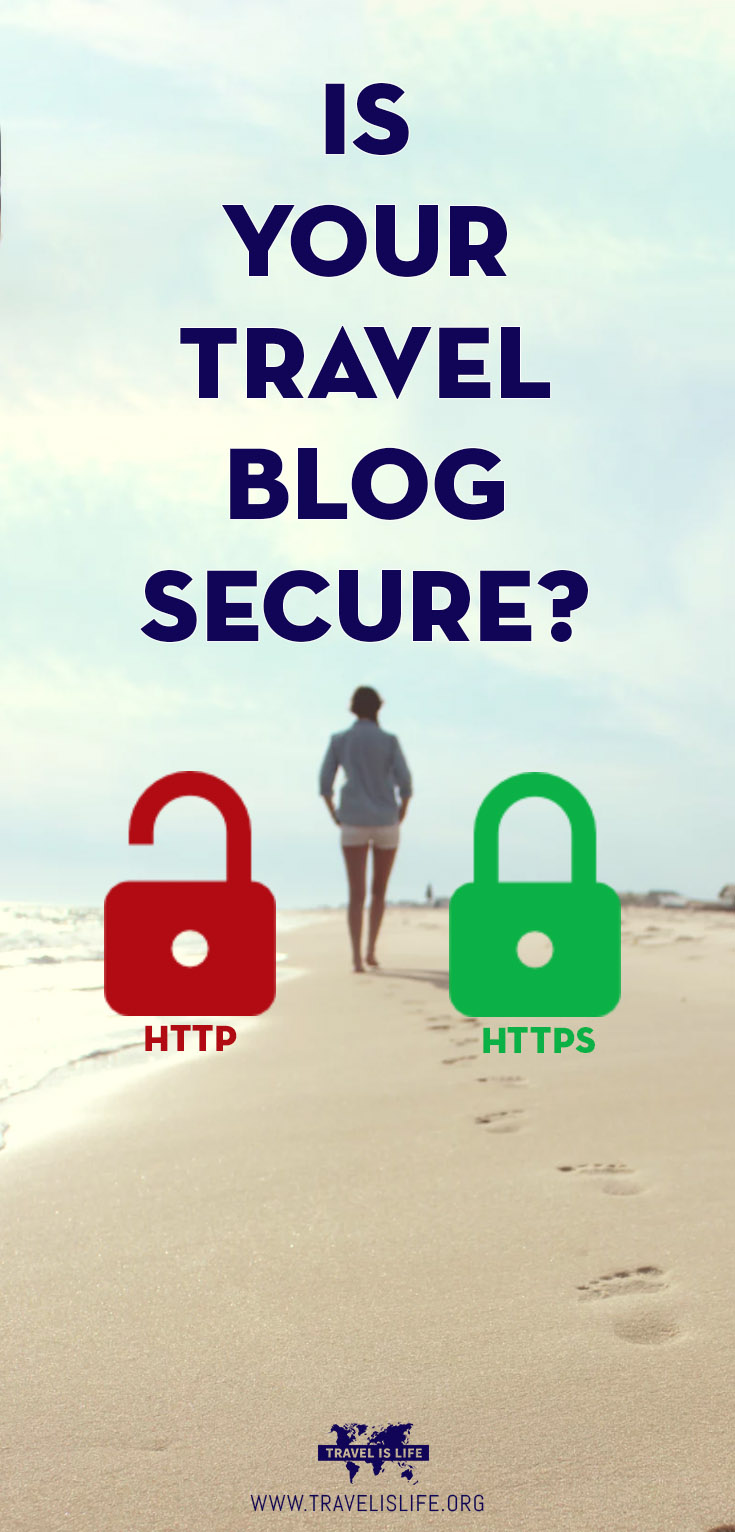
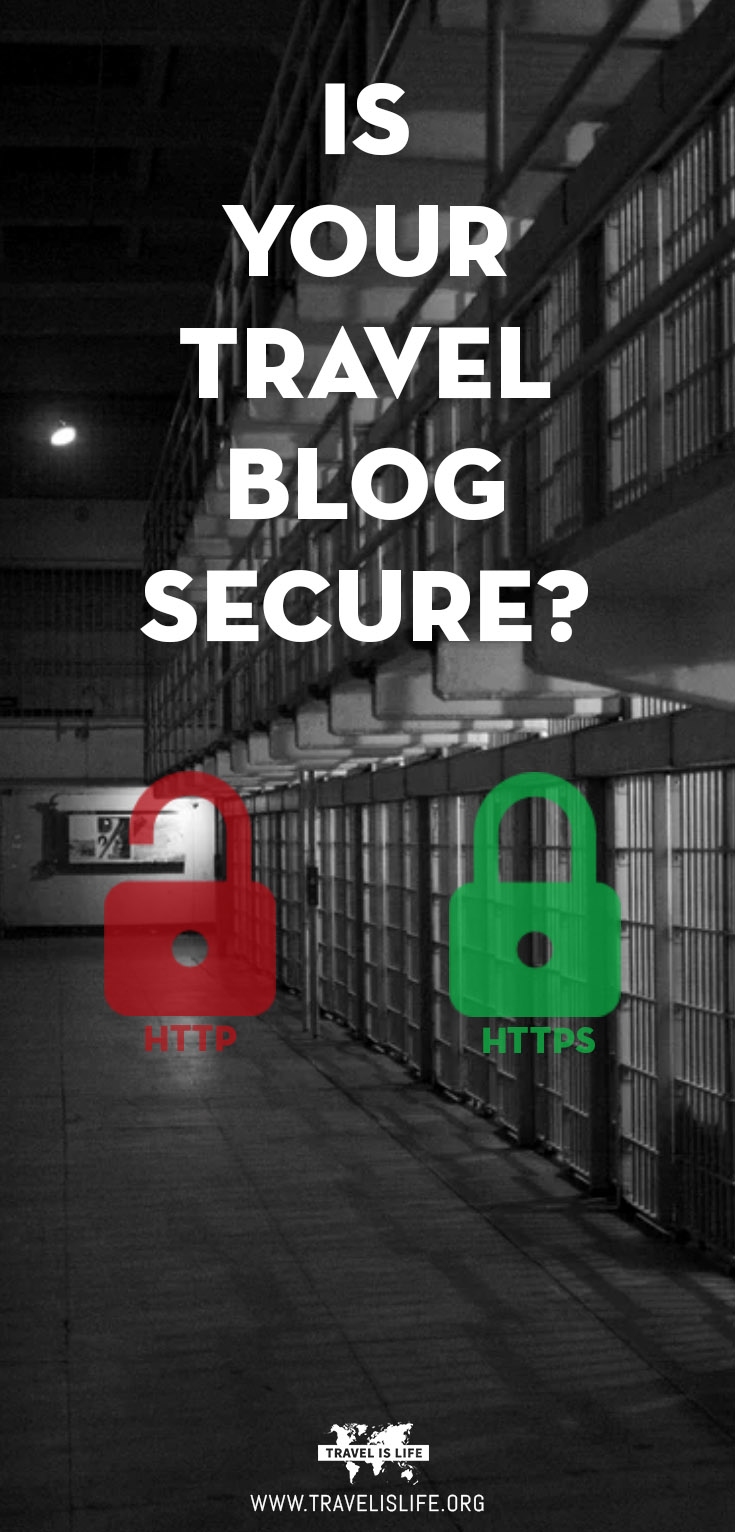
If you like it then you should've put a Pin on it!
Love this resource and want to share it to your favorite travel or blogging boards? Use my special Pinterest friendly graphics below.

0 Comments